Getting a new Android phone is exciting, but the setup process can feel overwhelming if you have never done it before. Whether you upgraded from an older model or switched from a different operating system, taking the time to configure your device properly will save you headaches later. A well-organized setup ensures your data is safe, your apps are ready to use, and your phone is optimized for daily tasks. This guide walks you through each stage of the process, from turning on your device for the first time to fine-tuning settings that improve performance and security. Following these steps in order will help you avoid common mistakes, such as skipping important backup options or forgetting to transfer contacts. By the end of this article, you will feel confident navigating your new device and ready to enjoy all the features Android has to offer. Let us start with the very first step: powering on your phone and choosing your language.
Turning On Your Phone and Selecting Basic Preferences
When you power on your new Android phone for the first time, you will be greeted with a welcome screen asking you to select your preferred language. Choose the one you are most comfortable with, since this will affect menus, keyboard suggestions, and voice assistants. After that, you will typically be asked to select your region or country, which helps the system configure time zones, currency formats, and available apps correctly. Some phones may also prompt you to insert a SIM card at this stage if you have not done so already. Take a moment to make sure the SIM tray is properly inserted, as a loose connection can cause network issues later. Once these basic preferences are set, the phone will guide you toward connecting to a Wi-Fi network, which is essential for downloading updates, restoring backups, and accessing your Google account. This initial phase usually takes only a few minutes, but it lays the foundation for a smooth setup experience.
Connecting to Wi-Fi and Checking for Updates
A stable internet connection is crucial during the setup process, so connecting to Wi-Fi should be one of your first priorities. Open the Wi-Fi settings menu, select your home or office network, and enter the password when prompted. If you are setting up your phone in a public place, avoid using open networks without a password, since they can pose security risks. Once connected, your phone will likely check for software updates automatically. Installing these updates before proceeding is highly recommended, as manufacturers often include important security patches and bug fixes in the latest versions. This step might take several minutes depending on the size of the update and your internet speed, so be patient and avoid restarting the device during the process. After the update is complete, your phone will restart and continue with the setup wizard. Having the latest software ensures compatibility with newer apps and reduces the chances of encountering glitches down the road.
Signing In to Your Google Account
Your Google account acts as the central hub for your Android experience, so signing in early in the setup process is essential. If you already have an account from a previous device, simply enter your email address and password to sync your contacts, photos, apps, and settings automatically. This is particularly helpful if you want to restore data from a backup, as Android will detect previous backups linked to your account and offer to restore them. If you are new to Android, you can create a Google account directly during this step by following the on-screen instructions. Having a Google account also gives you access to the Play Store, where you can download apps, games, and other digital content. Additionally, it enables features like Find My Device, which helps locate your phone if it gets lost or stolen. Take your time entering your credentials correctly to avoid sign-in errors that could delay the rest of the setup process.
Restoring Data From a Previous Device
One of the most convenient features of Android setup is the ability to restore data from an old device, whether it was another Android phone or an iPhone. If you choose this option, your phone will guide you through connecting to your previous device via a cable or wireless transfer, depending on the method available. This process can transfer contacts, photos, messages, and even app data, saving you the hassle of manually reinstalling everything. Keep in mind that transferring large amounts of data, such as thousands of photos, may take some time, so ensure both devices are charged and connected to a stable network. If you prefer to start fresh instead of restoring old data, you can skip this step entirely and set up your phone as a new device. Whichever option you choose, make sure your important files are backed up somewhere safe before making the switch, just in case something goes wrong during the transfer.
Setting Up Security Features
Security should never be an afterthought when configuring a new phone, since it protects your personal information from unauthorized access. Android will prompt you to set up a screen lock method, such as a PIN, password, or pattern, which prevents strangers from accessing your device if it is lost or stolen. Many modern phones also offer biometric options like fingerprint scanning or facial recognition, which provide a faster and more convenient way to unlock your device. Take a few minutes to register your fingerprint or face carefully, following the on-screen instructions for best results. It is also wise to enable two-factor authentication on your Google account during this stage, adding an extra layer of protection against hacking attempts. Once your security settings are configured, your phone will automatically apply these protections to sensitive apps and services. Skipping this step might feel tempting, but it significantly increases the risk of your personal data being exposed if your device falls into the wrong hands.
Customizing Apps and Settings
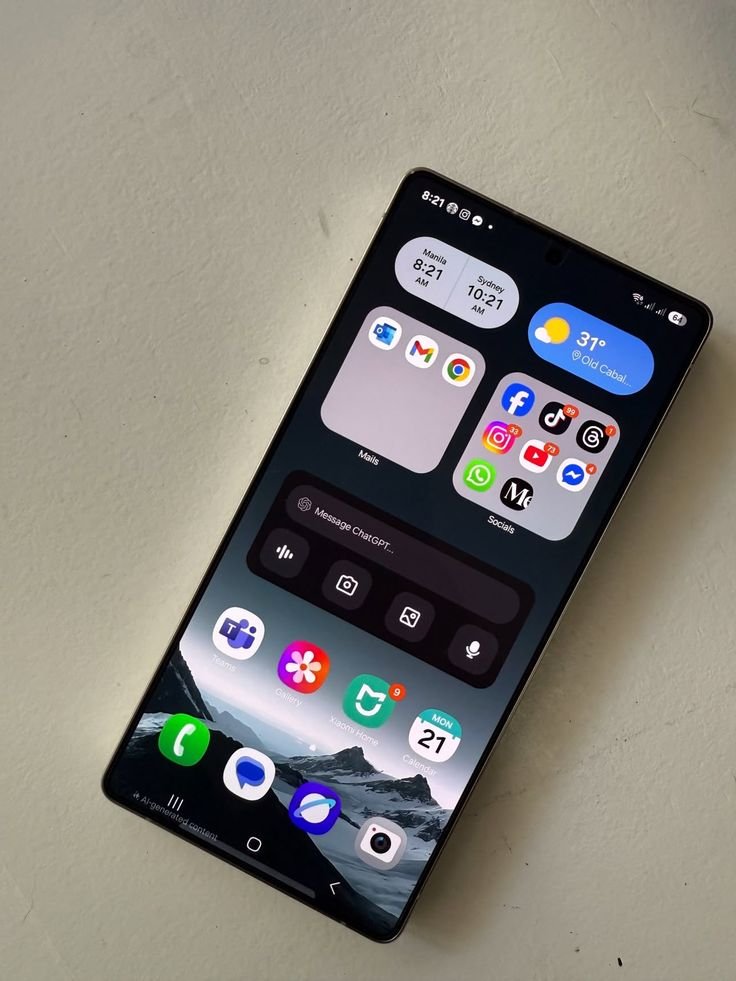
With the essential setup complete, it is time to personalize your phone according to your preferences and daily needs. Visit the Google Play Store to download apps you frequently use, such as social media platforms, productivity tools, or entertainment services. Many phones come with pre-installed apps from the manufacturer, so take a moment to review them and uninstall anything you do not need to free up storage space. You can also customize your home screen by rearranging icons, adding widgets, and choosing a wallpaper that suits your style. Adjusting notification settings is another important step, as it allows you to control which apps can send alerts and how they appear on your lock screen. Additionally, explore accessibility features if you have specific needs, such as larger text sizes or voice commands. This customization phase is where your phone truly starts to feel like your own, tailored to match your habits and preferences rather than generic factory settings.
Finally, before you consider your setup complete, take a few extra minutes to review battery and storage settings to ensure optimal performance. Check your battery usage statistics to identify any apps consuming excessive power, and consider enabling battery saver mode if you often find yourself away from a charger. Similarly, review your storage settings to see how much space is being used by apps, photos, and system files, which helps you avoid running out of space unexpectedly. It is also a good idea to set up cloud backup services, such as Google Photos or Google Drive, to automatically save your important files and prevent data loss in the future. Once these final adjustments are made, your Android phone is fully set up and ready for everyday use. Taking the time to complete each step carefully ensures a smoother experience, better security, and a device that truly works for you from day one.