
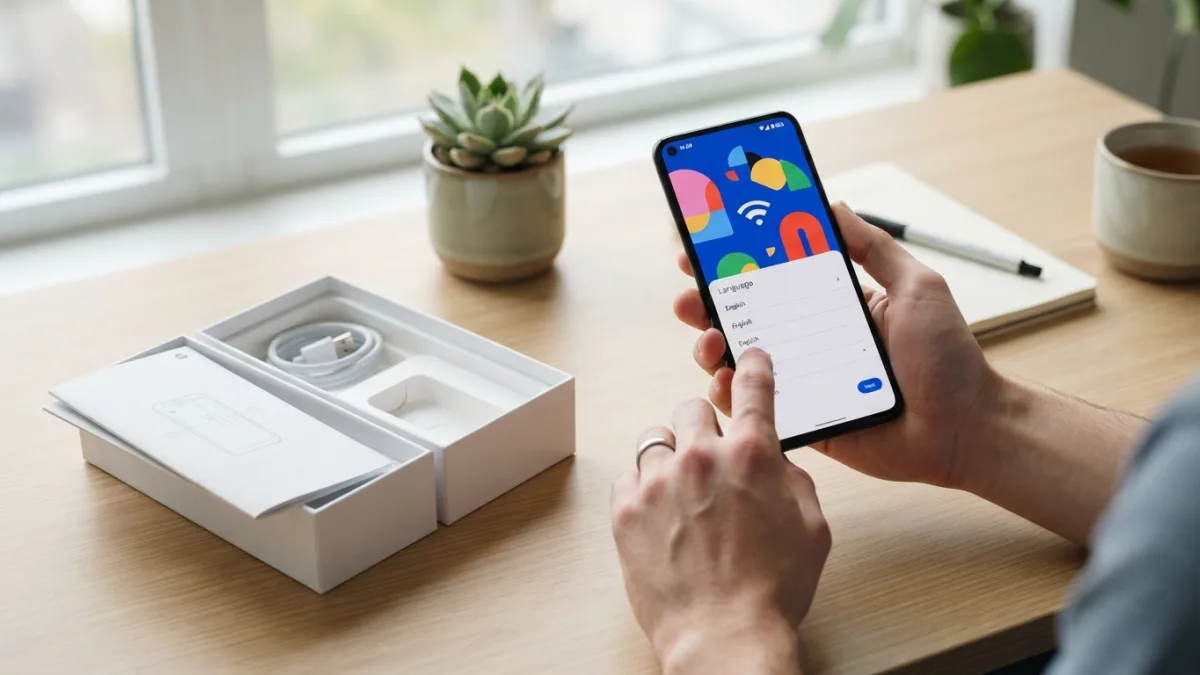
How to Set Up a New Android Phone Step by Step
Unboxing a new android phone is exciting, but that little rush of excitement can turn into frustration if you don’t know where to start. Between transferring old photos, remembering passwords, and figuring out which settings actually matter, the setup process can feel more complicated than it needs to be. The good news is that setting up a new android phone today is faster and smoother than it was even a few years ago, thanks to smarter transfer tools and clearer prompts built right into the operating system. This guide walks you through every stage, from the moment you power on the device to the final tweaks that make it truly feel like yours.
Before You Begin: What You’ll Need
A little preparation saves a lot of headaches later. Before you turn on your device, gather a few essentials so the setup goes without interruption. Having these ready means you won’t have to pause halfway through and search for a cable or forget a password at the worst moment. If you want to dig deeper, our guide on How to Fix an Android Phone That Won't Turn On covers this in more detail. This is a common part of dealing with new android phone, and it is worth keeping in mind.
- Your Wi-Fi network name and password
- The Google account email and password you plan to use
- Your old phone, fully charged and nearby
- A charging cable or SIM ejector tool, if needed
- About 20 to 30 minutes of uninterrupted time
If you’re switching from an iPhone, it also helps to know your Apple ID password in case you need to disable iMessage later, since messages sent to your old number can otherwise get stuck in Apple’s system instead of reaching your new device. Many people run into this exact issue with new android phone at some point.
Step 1: Power On and Choose Your Language
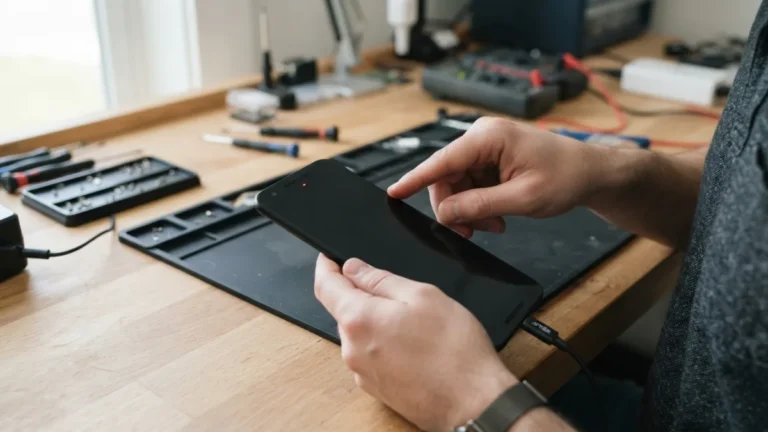
Press and hold the power button until the screen lights up and the manufacturer’s logo appears. Within a few seconds, you’ll see a welcome screen asking you to select your preferred language and region. This choice affects more than just the text on your screen; it also influences date formats, currency symbols, and some default app suggestions. Take a moment to confirm you’ve picked the right option, since changing it later means digging through settings menus. Once you confirm your selection, tap the arrow or “Start” button to move forward. Some devices will also ask about accessibility features here, such as larger text or screen readers, which you can turn on now or adjust anytime afterward. Keeping new android phone in mind here will save you time later on.
Step 2: Connect to Wi-Fi and Set Up Apps
Next, your phone will prompt you to set up WiFi and apps by scanning for nearby networks. Select your home or office network from the list and enter the password when asked. A stable internet connection at this stage matters a lot, because your phone will use it to download updates, sync your Google account, and pull in apps from your previous device. If you don’t have Wi-Fi available, most phones let you continue using mobile data instead, though downloading everything over a cellular connection can be slower and may use up data allowances. Once connected, the phone typically checks for and installs any pending system updates automatically before moving to the next screen. This connects closely with another common issue — see How to Free Up Storage Space on Your Android Phone Fast for more on that. This detail matters more than it seems once new android phone comes up again.
Step 3: Sign In With Your Google Account
This is one of the most important parts of the entire process. Your Google account setup determines whether your contacts, calendar events, saved passwords, and app purchases carry over smoothly. Enter the email address and password associated with your existing Google account, or create a new one if this is your first Android device. After signing in, you may be asked to confirm your identity through two-factor authentication, especially if you have that security feature enabled. Take this seriously rather than skipping it, since your Google account acts as the backbone for nearly everything on the device, including the Play Store, Gmail, Google Photos backups, and Find My Device tracking in case the phone is ever lost. It is one of those small things that makes new android phone easier to manage overall.
Step 4: Transfer Data to Android From Your Old Device
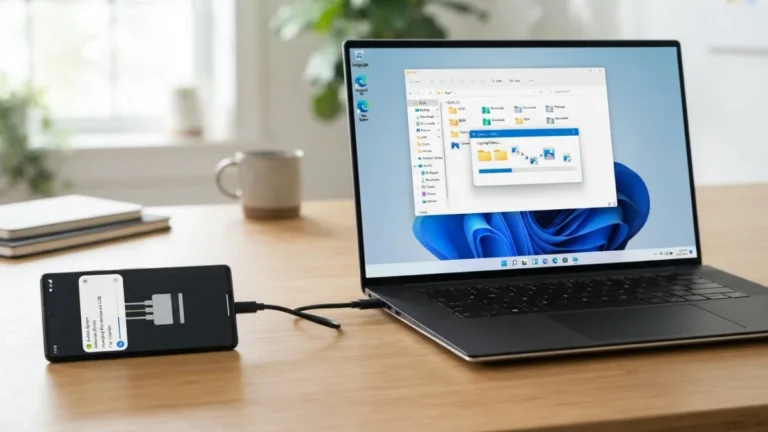
Once you’re signed in, most phones offer a built-in tool to transfer data to android from a previous device, whether it was an Android phone or an iPhone. This usually involves connecting the two phones with a cable or linking them wirelessly over Wi-Fi or Bluetooth. The system then copies over contacts, photos, videos, text messages, and in many cases, even your app list. The whole process can take anywhere from a few minutes to over an hour, depending on how much data you’re moving and how you’re connecting the devices. This is a common part of dealing with new android phone, and it is worth keeping in mind.
Switching From an iPhone
If you’re coming from an iPhone, download the manufacturer’s transfer app on your old device before starting, since this usually makes the process far smoother. You’ll typically need to sign into iCloud during the transfer so the system can pull photos, contacts, and calendar entries. Keep in mind that some apps, particularly ones tied to Apple’s ecosystem like iMessage or Apple Music playlists, may not transfer directly and could require manual reinstallation afterward. You might also find our article on How to Transfer Files Between Android and PC (No App Needed) helpful here. Many people run into this exact issue with new android phone at some point.
Step 5: Restore Apps and Adjust Basic Settings
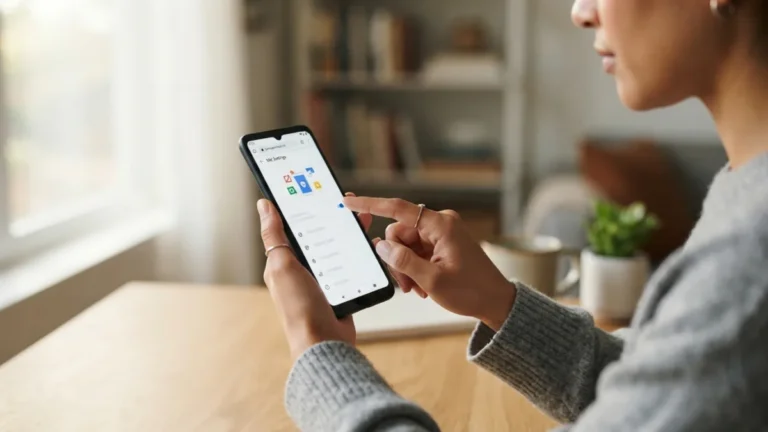
After the transfer finishes, your phone will usually offer to restore apps from your Google account or your old device automatically. This saves you from manually searching the Play Store for every single app you used before. Give this process time to complete in the background, since downloading dozens of apps can take a while depending on your connection speed. While waiting, you can start exploring basic android phone settings, such as adjusting screen brightness, choosing a wallpaper, and setting up your preferred keyboard layout. It’s also a good moment to check notification preferences so you’re not overwhelmed with alerts the moment everything finishes installing. Keeping new android phone in mind here will save you time later on.
Step 6: Set Up Security Features
Security should never be an afterthought, especially with how much personal information lives on our phones today. Head into the settings menu to set up a screen lock, whether that’s a PIN, pattern, password, or biometric option like a fingerprint or face scan. Many newer phones offer multiple biometric methods, so consider enabling more than one for convenience, such as fingerprint unlock for quick access and face recognition as a backup. This is also a good time to turn on Find My Device if it wasn’t already activated during the Google sign-in step, since it lets you locate, lock, or erase your phone remotely if it’s ever lost or stolen. This detail matters more than it seems once new android phone comes up again.
Final Touches for Your New Android Phone
With the major steps done, spend a few extra minutes personalizing the experience so the phone truly feels like your own. Rearrange your home screen icons, set up widgets for weather or calendar events, and organize apps into folders if you have a lot of them. Check your storage settings to see how much space is available and decide whether you want photos and videos backed up automatically to the cloud. It’s also worth reviewing app permissions, since some apps request access to your location, camera, or microphone that you may not want to grant right away. Taking this extra time now means fewer annoying pop-ups and adjustments later, and it helps the phone match how you actually plan to use it day to day. For a related walkthrough, check out How to Set Up Parental Controls on Android. It is one of those small things that makes new android phone easier to manage overall.
Frequently Asked Questions
How long does it take to set up a new android phone?
Most setups take between 20 minutes and an hour, depending on how much data you’re transferring and your internet speed. Transferring thousands of photos or a large app library naturally takes longer than a lighter setup. This is a common part of dealing with new android phone, and it is worth keeping in mind.
Can I transfer data to android from an iPhone without a cable?
Yes, many transfer tools support wireless transfers over Wi-Fi, though a cable connection is usually faster and more reliable for larger amounts of data like videos and photos. Many people run into this exact issue with new android phone at some point.
Do I need a Google account to use an Android phone?
Technically you can skip it, but you’ll lose access to the Play Store, automatic backups, and many core features. Completing the google account setup step is strongly recommended for the full experience. Keeping new android phone in mind here will save you time later on.
What happens to my old phone number during setup?
Your phone number stays with your SIM card or carrier account, not the device itself. As long as you move your SIM card or activate your eSIM on the new phone, your number will work as usual. This detail matters more than it seems once new android phone comes up again.
Is it safe to skip security setup during initial configuration?
It’s not recommended. Setting up a screen lock and Find My Device early protects your personal information from the moment you start using the phone, rather than leaving it vulnerable during those first few days. It is one of those small things that makes new android phone easier to manage overall.
One Comment
Comments are closed.