That shiny new laptop box is sitting on your table, and you are excited to use it. But then a small worry creeps in: what if setting it up takes hours, or worse, what if you break something? Take a deep breath. Setting up a new laptop does not require a computer science degree or a tech-savvy friend standing over your shoulder. With a simple step-by-step plan, you can go from “brand new box” to “ready to use” in under 30 minutes. This guide is written for real people, not engineers, so there is no confusing jargon here. We will walk through each stage in plain language, explaining any technical word the moment it appears. By the end of this article, you will feel confident, calm, and in control of your new machine. Think of this as a friendly walkthrough from someone who has done this many times and wants to save you the stress. Grab your laptop, a cup of coffee, and let us get started on making this quick and painless.
Step 1: Unbox and Do a Quick Physical Check
Before you even turn the laptop on, take two minutes to check everything is in order. Open the box carefully and remove all the packaging materials, including any plastic film covering the screen and keyboard. Peeling this off might seem obvious, but many people forget the thin film on the screen, which can make the display look blurry. Check that you have the charger, the charging cable, and any manuals or warranty cards included in the box. Look at the laptop itself for any visible damage, such as scratches, dents, or a cracked screen. If you spot anything unusual, it is best to contact the seller or manufacturer right away, before you start using the device. This quick inspection only takes a minute but can save you a lot of hassle later if there is a problem. Once everything looks good, plug in the charger, even if the battery shows some charge already. It is smart to charge while you set things up, since the first-time setup can use more power than usual. Now you are ready to press that power button for the first time.
Step 2: Power On and Choose Your Language and Region
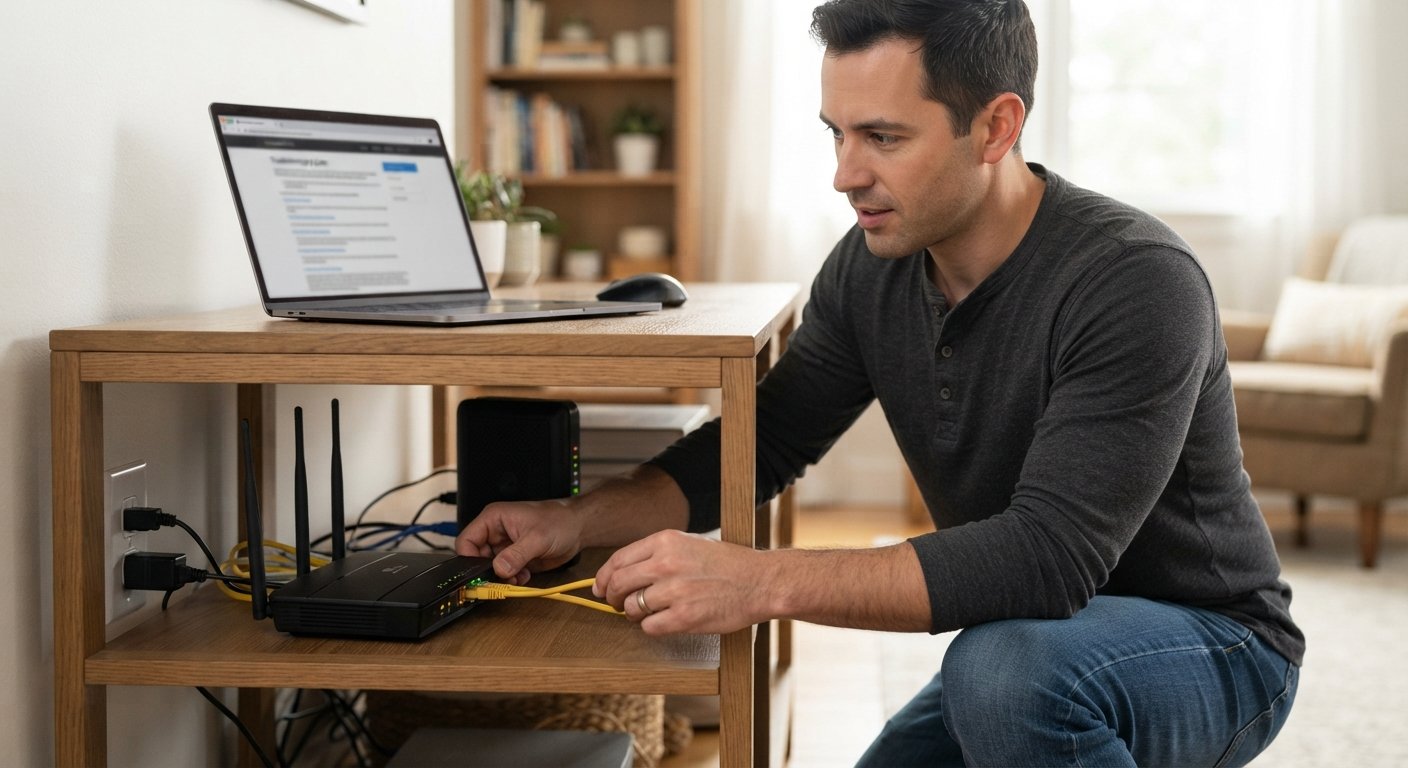
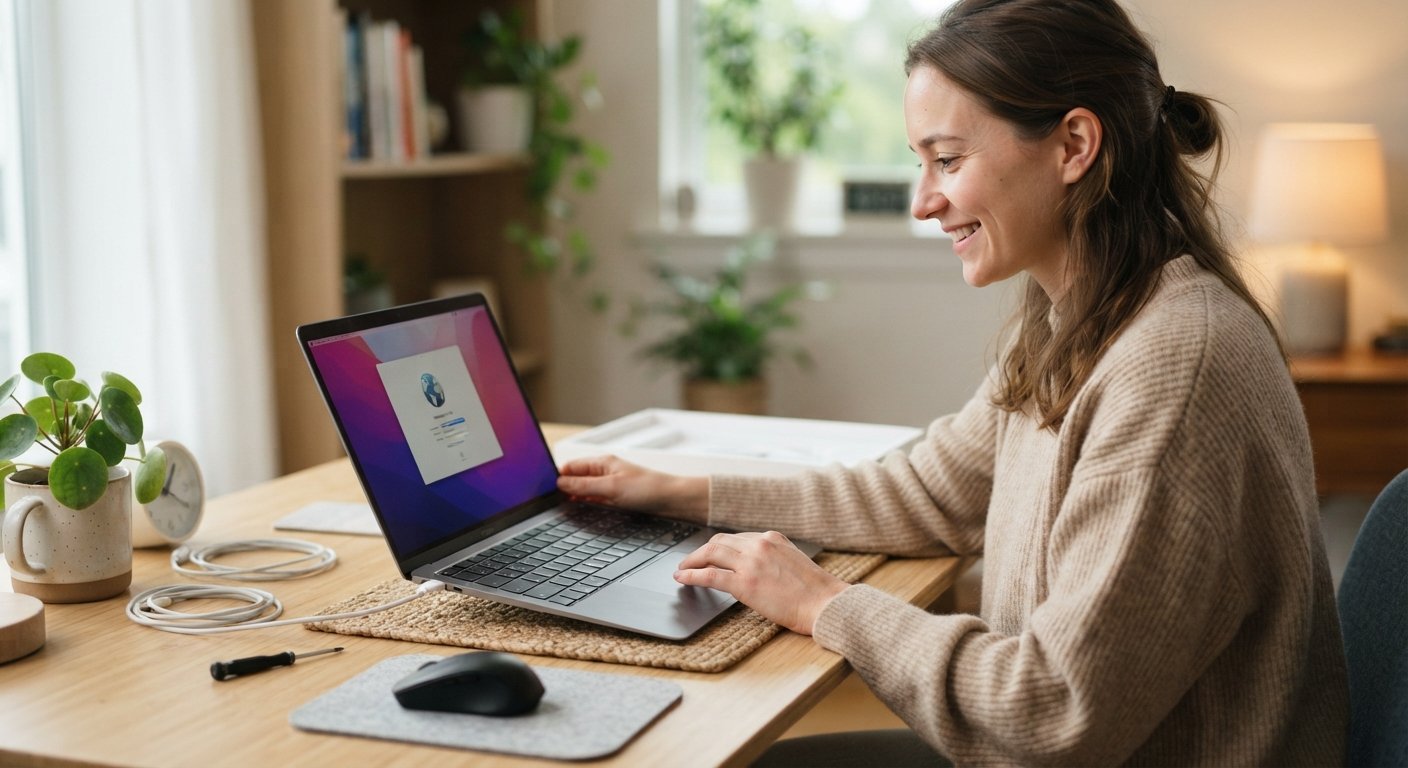
When you press the power button, your laptop will start what is called the “initial setup” or “out-of-box experience.” This simply means the first-time process where the computer asks you a few basic questions to get configured properly. The first screen usually asks you to pick your language and your country or region. This matters because it affects things like your keyboard layout, date format, and default settings for local services. Choose the option that matches where you actually live, not where the laptop was purchased, if they are different. Take your time here, but do not overthink it, since these settings can usually be changed later in the system settings if needed. After confirming your language and region, the laptop will often ask you to connect to a Wi-Fi network. This is an important step because many features, including software updates and account setup, need an internet connection to work properly. Simply click on your home Wi-Fi network name from the list, type in your password, and wait a few seconds for it to connect. Once you see a checkmark or “connected” message, you are ready to move to the next step.
Step 3: Sign In or Create Your Account
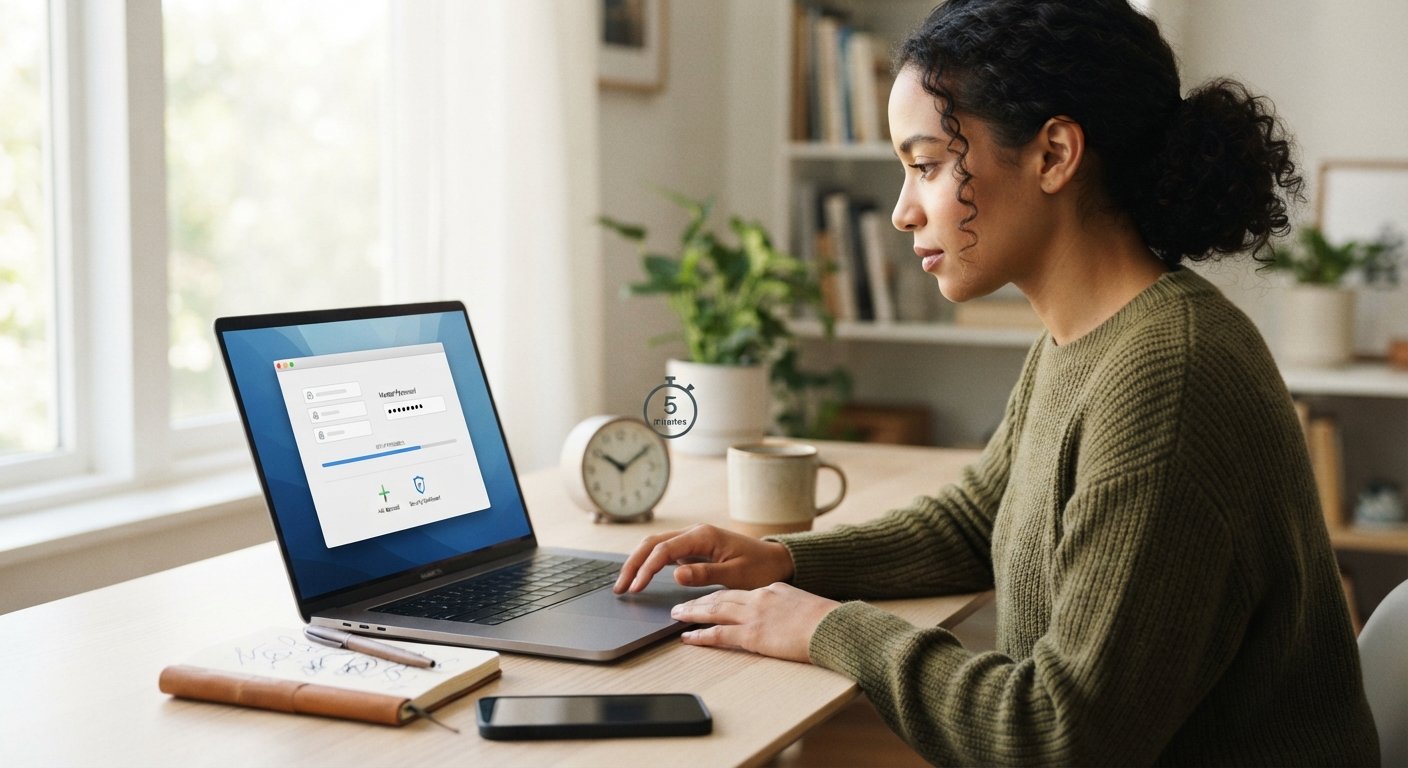
This is the part where the laptop wants to know who you are, so it can personalize the experience. If you already have an account with the operating system, such as a Microsoft account for Windows laptops or an Apple ID for MacBooks, you can simply sign in using your existing email and password. If you do not have one yet, do not worry, because the setup screen will guide you through creating a new account right there on the spot. This usually takes about three to five minutes and requires just an email address, a password, and sometimes a phone number for security purposes. Having an account is helpful because it lets you back up your files, download apps, and sync things like photos and documents across your devices later on. If privacy is a concern, most systems also offer a way to set up a local account without linking to the internet, though you will miss some helpful features like automatic backups. For most people, especially beginners, using an online account is the easier and more convenient choice. Once your account is created and confirmed, the laptop will move forward to its next configuration screens automatically.
Step 4: Skip or Adjust the Extra Settings Screens
After your account is set up, you will likely see a series of screens asking about privacy settings, data collection, and optional features. These screens can feel overwhelming with their long paragraphs of text, but you really do not need to read every word carefully right now. For most home users, the default settings are perfectly fine, and you can simply click “accept” or “next” to move forward quickly. If you are particularly concerned about privacy, you can take an extra minute to turn off options like “send diagnostic data” or “personalized advertising,” which are usually toggles you can switch off with one click. There may also be a screen asking if you want to set up a fingerprint or face recognition for logging in faster; this is optional but can be convenient if your laptop supports it. Some laptops will also ask about linking a cloud storage service, which is just an online space to save your files so you can access them from other devices too. Feel free to skip this for now if you are unsure, since you can always set it up later from the settings menu. The goal here is progress, not perfection, so keep clicking through at a comfortable pace.
Step 5: Let Windows or macOS Finish Installing Updates
Once you get past the initial questions, your laptop will often need to install some updates before it is fully ready to use. This might feel like an unnecessary delay, but it is actually an important safety step, since updates often include security fixes and improvements. You will typically see a progress bar or a message saying something like “this might take a few minutes,” and this part usually runs in the background without needing you to do anything. It is a perfect moment to grab a snack, check your phone, or simply relax for a few minutes while the laptop does its work. Do not turn off the laptop or close the lid during this process, as it could interrupt the update and cause problems later. If your laptop restarts on its own during this stage, that is completely normal and expected, so there is no need to panic. Once the updates are finished, you will usually land on the main desktop screen for the first time, which is an exciting moment. From here, your laptop is technically ready to use, though there are just a couple more helpful steps to make it truly yours.
Step 6: Install Your Essential Apps
Now that you have reached the desktop, it is time to add the apps and programs you actually use every day. Instead of installing dozens of things at once, focus on just the essentials first, such as a web browser you prefer, an antivirus program if it is not already included, and any work or study tools you need immediately. Most operating systems have a built-in app store, like the Microsoft Store on Windows or the App Store on Mac, where you can search for and install popular apps with just one click. If you use specific programs for work, such as office software or video call tools, download them directly from the official company websites to make sure you get a safe and updated version. Try not to install too many apps in one sitting, since this can slow down your laptop and make the setup process feel longer than it needs to be. You can always add more programs later, once you get comfortable using your new laptop day to day. A good rule of thumb is to install only what you know you will use in the first week. This keeps things simple and keeps your 30-minute goal realistic and achievable.
Step 7: Personalize and Do a Final Check
With the important setup steps done, take the last few minutes to make the laptop feel like your own. Change the desktop background to something you like, adjust the screen brightness to a comfortable level, and set the mouse or trackpad speed if it feels too fast or too slow. If you plan to use the laptop for a long time each day, it is worth quickly checking your power settings to balance battery life and performance according to your needs. This is also a great time to test your webcam and microphone if you plan to use video calls, just to confirm everything works smoothly. Take a moment to make sure your Wi-Fi connection is stable and that any files you transferred from an old device have arrived safely. If everything looks good, congratulations, your new laptop is now fully set up and ready for daily use. You have gone from an unopened box to a working, personalized computer in well under 30 minutes, without needing any special technical skills. Give yourself a pat on the back, because that is a real accomplishment, and now you can enjoy your new laptop with confidence.
FAQ
Do I need internet access to set up a new laptop?
Yes, in most cases you will need a Wi-Fi connection to complete setup, since it is required for creating an account, installing updates, and downloading apps. You can skip some steps offline, but the process works much smoother with internet access.
What if my laptop asks me to create a Microsoft or Apple account and I do not want one?
You can usually choose a local account instead, which does not require an email sign-in. However, you will miss out on useful features like automatic backups and syncing across devices, so an online account is generally recommended for most users.
Is it safe to skip the privacy and data settings screens quickly?
Yes, the default settings are safe for most everyday users, so you do not need to read every detail. If privacy matters a lot to you, just take an extra minute to turn off optional data-sharing toggles.
Why does my laptop need updates right after I turn it on?
New laptops often sit in storage for a while before reaching you, so updates ensure your system has the latest security fixes and improvements. This step is normal and only needs to be done once during initial setup.
Can I really finish the entire setup in 30 minutes?
Yes, if you follow the steps in order and only install essential apps at first, most people can complete the entire process within 20 to 30 minutes. You can always add more programs and personal touches later at your own pace.